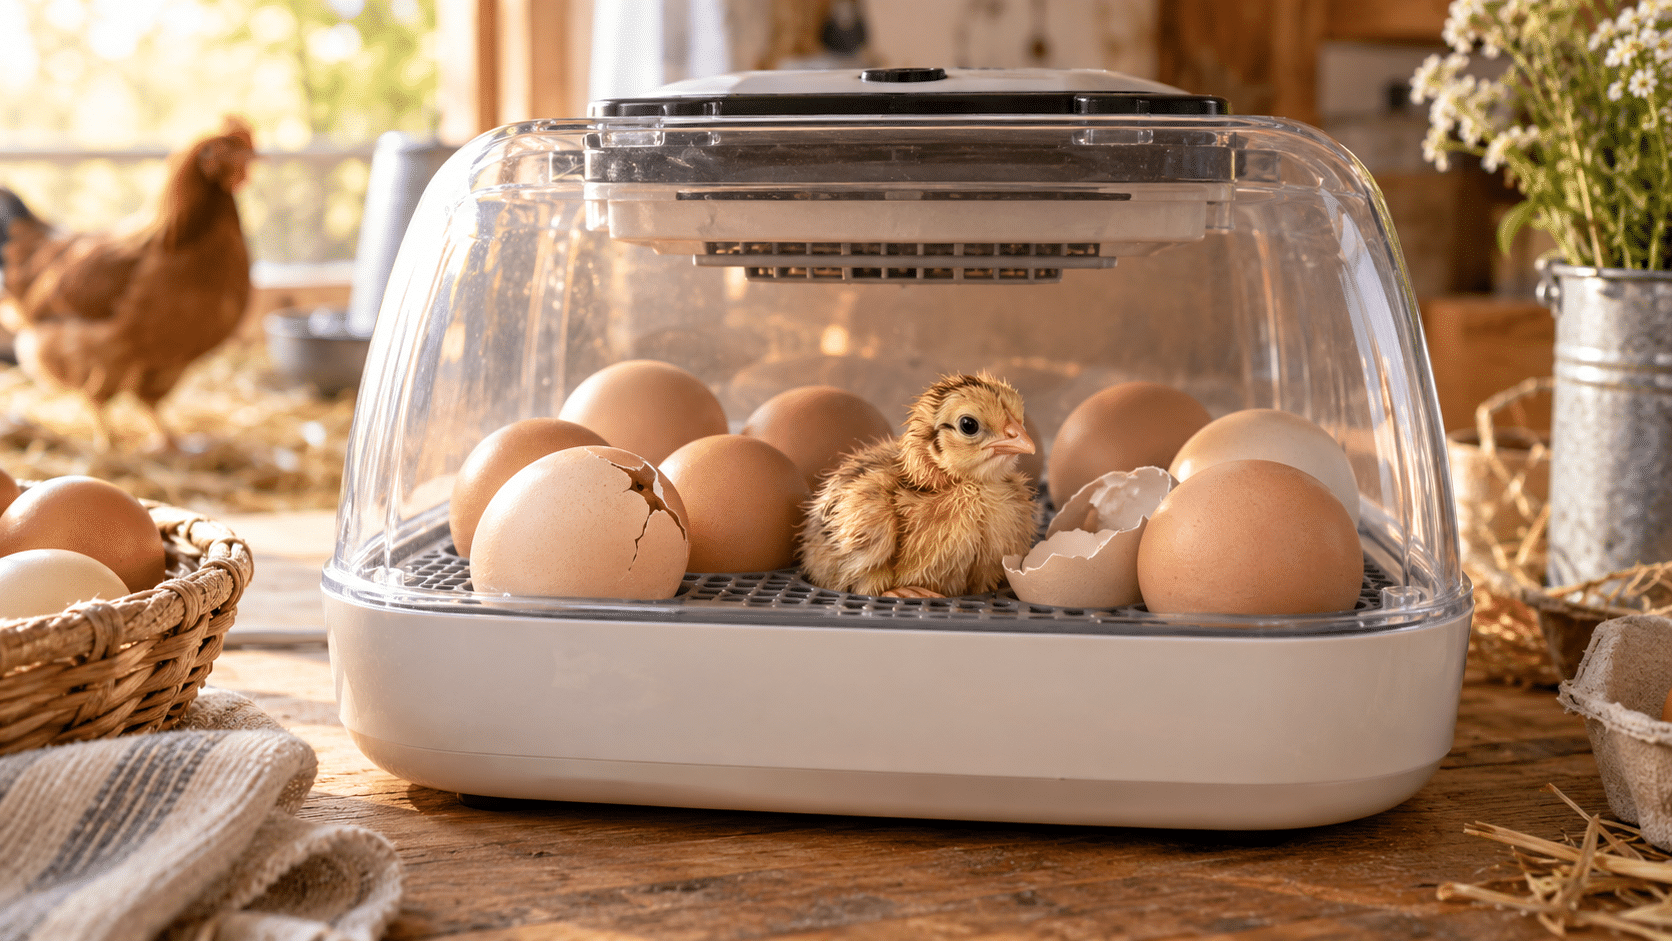

Hatching chicken eggs at home can be one of the most rewarding parts of raising poultry. Over about three weeks, careful daily routines can turn a tray of fertile eggs into a lively group of chicks.
A successful hatch depends less on complicated equipment than on steady conditions. Temperature, humidity, ventilation, turning, and cleanliness all work together, so prepare your incubator before the eggs go in and make a simple checklist for each stage.
Before You Set the Eggs
Start with fresh, fertile eggs from a healthy breeding flock. Grocery-store eggs are not suitable for incubation because they are generally not fertile and may have been refrigerated or stored too long.
- Choose clean, normally shaped eggs with sound shells.
- Do not wash the eggs; washing can remove the shell’s natural protective coating.
- If you must store eggs before setting them, keep them pointed end down in a cool place and turn them gently each day.
- Let stored eggs warm gradually to room temperature before placing them in the incubator to reduce condensation.
Set the incubator in a room with a stable temperature, away from direct sunlight, drafts, heaters, and frequently opened doors. Run it empty for at least 24 hours so you can confirm that the thermometer, hygrometer, fan, and automatic turner are working correctly.
Days 1–18: Keep Conditions Steady
Chicken eggs typically hatch in about 21 days. Many extension guides recommend about 100°F for a forced-air incubator, while still-air models usually require a slightly higher reading at egg level. Follow your incubator manufacturer’s directions, and verify the temperature with a reliable second thermometer when possible.
Humidity helps control how quickly an egg loses moisture. A common starting range for the first 18 days is about 58–60% relative humidity, but incubator design and local conditions can change what works best. Use the air cell and your equipment instructions as guides instead of making large adjustments from a single reading.
Turn the eggs at least two or three times each day—or use an automatic turner—through day 18. If turning by hand, mark opposite sides with an X and O and use an odd number of turns so the eggs do not rest on the same side every night. Wash and dry your hands before handling them, and keep each check brief so the incubator can return to its set temperature quickly.
Are you enjoying the content so far? Consider subscribing! You'll get an email every time we post a new blog, and best of all...it's FREE!
"*" indicates required fields
Candle the Eggs Around Day 7–10
Candling lets you check development without opening the shell. In a dark room, shine a bright egg candler through the large end of each egg. A developing egg often shows a dark center with a branching network of blood vessels. Handle eggs gently and return them to the incubator promptly.
An egg that still looks completely clear may be infertile, but beginners should wait a few days and check again before removing an uncertain egg. Discard any egg that leaks, smells bad, or develops a suspicious crack.
Day 18: Begin Lockdown
At the end of day 18, stop turning the eggs and remove or switch off the automatic turner. Place the eggs in their hatching position, raise humidity according to the incubator manual, and make sure the recommended ventilation openings are clear. Chicks need more fresh air as hatch day approaches.
Once lockdown begins, avoid opening the incubator unless there is a real problem. Each opening releases warm, moist air and can dry the membrane around a pipped chick.
Hatch Day: Let the Chicks Work
Most chicken eggs hatch around day 21, although a small amount of variation is normal. A chick may rest for many hours between making the first small pip and pushing free of the shell. Resist the urge to help too soon; premature assistance can injure a chick that has not finished absorbing its yolk or blood supply.
Leave newly hatched chicks in the incubator until they are dry and fluffy. Then move them to a prepared brooder with a safe heat source, clean water, and chick starter feed. Dip each chick’s beak gently in the water as you place it in the brooder so it knows where to drink.
Common Incubation Mistakes
- Trusting an untested thermometer or hygrometer
- Opening the incubator too often
- Turning eggs inconsistently during the first 18 days
- Continuing to turn eggs after lockdown
- Blocking ventilation or skipping sanitation between hatches
- Giving up on viable eggs too early
Prefer to Start With Day-Old Chicks?
If you enjoy planning a flock but do not want to manage an incubator, starting with healthy day-old chicks can be simpler. Valley Farms Hatchery offers many breeds for backyard flocks and homesteads, including:
- Buff Orpingtons, gentle dual-purpose birds known for their calm nature and tendency to make good natural mothers.
- Black Australorps, calm, productive layers that are generally easy to manage.
- Easter Eggers, popular birds that add variety and colorful eggs to the flock.
Browse the hatchery’s available chicks to compare breeds that can be ordered now.
A Successful Hatch Starts With Consistency
Successful egg incubation is mostly a steady routine: prepare the equipment, record daily readings, turn on schedule, and make only small corrections. With patience and careful observation, the 21-day process becomes easier to understand—and the first peep from inside an egg makes the work worthwhile.